A from buttered blasphAmy and I made these last year and they turned out quite well! I think you really can't go wrong with the flavor combination of the Girl Scout samoa cookie anyway though lol. We decided to not punch the trademark holes in the cookie and we were a little short on the caramel, which might be why the coconut caramel topping was a tad difficult to spread. We also didn't bother with piping the chocolate and just went at it with forks lol. But the end result was quite delicious :D I would definitely make these again! I'm also looking forward to someday making the rest of the Girl Scout cookie recipes on Baking Bites as well :)
Homemade Girl Scout Cookies: Samoas
from Baking Bites
Cookies:
1 cup butter, soft
1/2 cup sugar
2 cups all purpose flour
1/4 tsp baking powder
1/2 tsp salt
1/2 tsp vanilla extract
up to 2 tbsp milk
1. Preheat oven to 350F.
2. In a large mixing bowl, cream together butter and sugar. Mix in flour, baking powder and salt at a low speed, followed by the vanilla and milk, adding in the milk as needed to make the dough come together without being sticky (it’s possible you might not need to add milk at all). The dough should come together into a soft, not-too-sticky ball. Add in a bit of extra flour if your dough is very sticky.
3. Roll the dough (working in two or three batches) out between pieces of wax paper to about 1/4-inch thickness (or slightly less) and use a 1 1/2-inch cookie cutter to make rounds.
4. Place on a parchment lined baking sheet and use a knife, or the end of a wide straw, to cut a smaller center hole. Repeat with remaining dough. Alternatively, use scant tablespoons of dough and press into an even layer in a mini donut pan to form the rounds.
5. Bake cookies for 10-12 minutes, until bottoms are lightly browned and cookies are set. If using a mini donut pan, bake for only about 10 minutes, until edges are light gold.
6. Cool for a few minutes on the baking sheet then transfer to a wire rack to cool completely.
Topping:
3 cups shredded coconut (sweetened or unsweetened)
12-oz good-quality chewy caramels
1/4 tsp salt
3 tbsp milk
8 oz. dark or semisweet chocolate (chocolate chips are ok)
1. Preheat oven to 300.
2. Spread coconut evenly on a parchment-lined baking sheet (preferably one with sides) and toast 20 minutes, stirring every 5 minutes, until coconut is golden. Cool on baking sheet, stirring occasionally. Set aside.
3. Unwrap the caramels and place in a large microwave-safe bowl with milk and salt.
4. Cook on high for 3-4 minutes, stopping to stir a few times to help the caramel melt. When smooth, fold in toasted coconut with a spatula.
5. Using the spatula or a small offset spatula, spread topping on cooled cookies, using about 2-3 tsp per cookie. Reheat caramel for a few seconds in the microwave if it gets too firm to work with.
6. While topping sets up, melt chocolate in a small bowl. Heat on high in the microwave in 45 second intervals, stirring thoroughly to prevent scorching.
7. Dip the base of each cookie into the chocolate and place on a clean piece of parchment paper.
8. Transfer all remaining chocolate (or melt a bit of additional chocolate, if necessary) into a piping bag or a ziplock bag with the corner snipped off and drizzle finished cookies with chocolate.
9. Let chocolate set completely before storing in an airtight container.
Makes about 3 1/2-4 dozen cookies.
Friday, April 24, 2009
Saturday, April 18, 2009
Banana Chocolate Chip Cookies
Mmm more cookies! I had two very ripe bananas and it wasn't enough to make my go to banana bread and I was also looking to try out more recipes from the Field Guide to Cookies (I also did not want to do my final papers, but let's not go there), so this was an obvious choice! These turned out quite well. I'd say they taste like chocolate chip banana bread + oats. I like how the oats add to the texture of the cookie. Otherwise they'd be very light and airy. These are great with a glass of milk and fresh from the oven :D I think next time I'll add a little more banana to up the banana flavor, but that's my personal preference lol. I will definitely be making these again :)
Banana Chocolate Chip Cookies
from Field Guide to Cookies
Ingredients
1 1/2 cups all-purpose flour
1 3/4 cups rolled old fashioned oats
1/2 tsp baking soda
1/2 tsp ground cinnamon
1 tsp salt
3/4 cup softened unsalted butter
1 cup sugar
1 egg
1/2 tsp vanilla extract
1 cup mashed ripe bananas
1 cup (6 oz) chocolate chips
Directions
1. Preheat oven to 375F. Line cookie sheets with parchment paper or silicone baking mats.
2. Mix the flour, oats, baking soda,cinnamon, and salt in a bowl.
3. Cream butter and sugar until light and fluffy. Add the egg and vanilla and mix until combined.
4. Mix in half the flour mixture until just combined. Then add the bananas and mix to combine. Add the rest of the flour mixture and mix until combined. Mix in the chocolate chips.
5. Drop tablespoon sized balls of dough on to cookie sheets about 2 inches apart.
6. Bake for 12-14 minutes, rotating sheets halfway through. Cool sheets on wire racks for a few minutes before transferring cookies directly to wire racks using a spatula.
Friday, April 17, 2009
Raspberry Crumb Cake
I made this for H's birthday last year and I think it turned out quite well! I didn't have any mace so I just left that out. The only thing I need to work on is making the crumb topping but it's the taste that matters after all right? lol. H gave it her thumbs up as well ^_^
Raspberry Crumb Cake
from allrecipes
INGREDIENTS
2/3 cup sugar
1/4 cup cornstarch
3/4 cup water
2 cups fresh or frozen unsweetened raspberries
1 tablespoon lemon juice
CRUST:
3 cups all-purpose flour
1 cup sugar
1 tablespoon baking powder
1 teaspoon salt
1 teaspoon ground cinnamon
1/4 teaspoon ground mace
1 cup cold butter or margarine
2 eggs
1 cup milk
1 teaspoon vanilla extract
TOPPING:
1/2 cup all-purpose flour
1/2 cup sugar
1/4 cup cold butter or margarine
1/4 cup sliced almonds
DIRECTIONS
1. In a saucepan, combine sugar, cornstarch, water and raspberries. Bring to a boil over medium heat; boil for 5 minutes or until thickened, stirring constantly. Remove from the heat; stir in lemon juice. Cool.
2. Meanwhile, in a bowl, combine the first six crust ingredients. Cut in butter until mixture resembles coarse crumbs. Beat eggs, milk and vanilla; add to crumb mixture and mix well. Spread two-thirds of the mixture into a greased 13-in. x 9-in. x 2-in. baking dish. Spoon raspberry filling over crust to within 1 in of the edges. Top with remaining crust mixture. For topping, combine flour and sugar; cut in butter until crumbly. Stir in almonds. Sprinkle over the top. Bake at 350 degrees F for 50-55 minutes or until lightly browned.
Wednesday, April 15, 2009
Green Tea Cookies
It's finally hitting me that I'm going to be leaving Michigan in slightly over 2 months and I have so many baking materials that I need to use up before I go O_O So, I decided to start making a dent into my supplies this week! I got the Field Guide to Cookies as a gift and I've been flipping through it quite often just to read about different cookies and look through all the recipes. The recipe for green tea cookies looked quite simple and I had all the ingredients on hand so I decided to give it a go! I am quite happy with the end result and I love any excuse to use my cute little Japanese cookie cutters :) The only issue I had with this was the dough was rather crumbly, making it a bit hard to roll out. Otherwise all went well. I think I'll definitely try them again, but use less matcha next time. I threw in 2.5 tbsp this time for an extra punch but I'm not always in the mood for a really strong matcha flavor ^_^;
Green Tea Cookies
adapted from Field Guide to Cookies
Ingredients
1 1/2 cup flour
1/2 cup rice flour
1/4 tsp salt
2 1/2 tbsp matcha powder
1 cup butter, softened
1/2 cup sugar
extra sugar for dusting
extra flour for rolling out dough
Directions
1. Mix the flour, rice flour, salt, and matcha powder together.
2. Cream the butter and the sugar together.
3. Slowly mix the flour mixture into the butter and sugar by hand until combined.
4. Turn out the dough onto a sheet of plastic wrap. Shape the dough into a rectangle of about 3/4" thickness.
5. Chill dough in refrigerator for 2 hours.
6. Preheat oven to 325F and grease cookie sheets or line them with parchment paper.
7. Sprinkle flour on a flat surface and on the dough. Roll out the dough until about 1/4" thick. Cut with desired cookie cutters (approximately 1.5-2 inches in diameter).
8. Place cookies on cookie sheets and sprinkle sugar on each cookie.
9. Bake cookies for 10-12 minutes, until the edges are slightly brown.
*if your cookie cutters are larger or smaller than 1.5-2 inches in diameter you will want to adjust the baking time
Labels:
cookies,
field guide to cookies,
green tea,
matcha,
recipe
Saturday, April 11, 2009
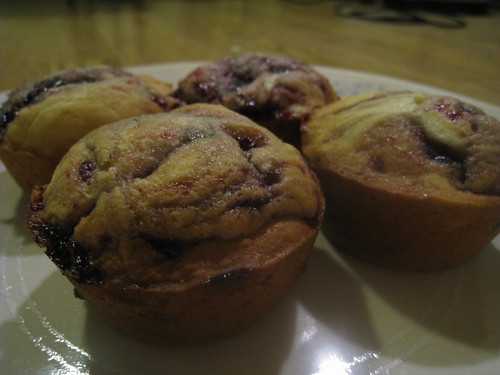
Blackberry Cream Cheese Buns
I finally got around to trying a new recipe! In an effort to find anything and everything that I need or want to do in place of working on final papers and projects (which I should have been doing :X) I decided to use my block of cream cheese in the fridge as well as an open jar of blackberry jelly that I had barely touched. I saw this recipe on Bake or Break and was sold. The description made them sound divine and I can't say I wasn't mentally salivating at the idea of delicious cream cheese buns for breakfast! The original recipe called for raspberry preserves, but I went with what I had and they turned out nicely :) They're so light and addictive..I had to stop myself from eating too many (read: I ate 2.5 of them >_<). I did learn one thing though..I absolutely suck at swirling dough. I think next time I'll just stir the batter and the preserves together in the muffin pan lol. I think these would definitely do well with any other berry preserve or anything else that pairs well with cream cheese :) And be careful not to overbake these..I did with my first pan ::weeps:: and they're still tasty, but the edges are quite stiff >_<
Blackberry Cream Cheese Buns
adapted from Bake or Break
Ingredients
1 cup + 3/4 cup all-purpose flour
1 teaspoon baking soda
1/2 teaspoon baking powder
1/4 teaspoon salt
8 ounces cream cheese, softened
1/2 cup unsalted butter, softened
1 cup granulated sugar
2 large eggs, at room temperature
1/2 teaspoon vanilla extract
1/4 cup milk
1/4 to 1/3 cup blackberry jelly
Directions
1. Preheat oven to 350°. Grease and flour a large a regular muffin pan.
2. Combine 1 cup flour, baking soda, baking powder, and salt.
3. Beat cream cheese, butter, and sugar on low speed of an electric mixer until fluffy, about 2-3 minutes. Beat in eggs, one at a time. Mix in vanilla. Add dry ingredients, alternating with milk. Add remaining 3/4 cup flour and mix until combined.
4. Spoon batter into muffin cups. Top with 2 small dollops of preserves and swirl into the batter using a small knife.
5. Bake for 17-20 minutes, or until a pick inserted into the center comes out clean. Do not overbake.
Friday, April 10, 2009
Sugarless Lemon Yogurt Cake
Since I have a whole bunch of recipes I've made last year, I thought I'd start posting them on a weekly basis. Especially since I don't have a lot of time to bake new things currently.. So hopefully I'll be able to keep this up and get all caught up on posting :D
My dad's diabetic so when I'm at home, I try to experiment with sugarless recipes. He's always jealous when I make regular baked goods so I have to put in some effort :X I'm not a fan of baking with splenda because I think it has an aftertaste that I just do not enjoy. This cake still had that aftertaste, but it was nice and moist from the yogurt and the applesauce. I made this cake a loong time ago, so I don't remember exactly how long I baked it for, since I baked it in a loaf pan and not as cupcakes, so I'll just post the original recipe here ^_^; I also replaced the cranberries with fresh blueberries when I made this.
Redsie's Lemon Yogurt Cupcakes (Light Version)
from recipezaar
Ingredients
1 1/4 cups flour, plus
1 tablespoon flour
1 teaspoon baking powder
1/4 teaspoon salt
1 cup Splenda sugar substitute
1/4 cup butter (or 25% reduced-fat butter, melted and cooled)
1/4 cup unsweetened applesauce
1/4 cup egg substitute (or 1 egg)
1/2 cup nonfat yogurt, plain
2 teaspoons lemon zest, grated
3 tablespoons fresh lemon juice
1/2 teaspoon lemon extract
1 cup cranberries
Directions
1. Preheat oven to 350F and use muffin pan, lined with paper liners.
2. In a small bowl, mix together flour, baking powder and salt.
3. In a large bowl, whisk together sugar, butter, applesauce and egg until smooth. Add yogurt, lemon zest and juice and lemon extract, beating until smooth. Add flour mixture, beating just until smooth. Fold in cranberries.
4. Scoop batter into prepared pan. Bake in preheated oven for 22 to 25 minutes or until tops of cupcakes spring back when lightly touched. Let cool in pan on rack for 10 minutes. Remove from pan and let cool completely on rack.
5. Top cooled cupcakes with your favorite icing.
Monday, April 6, 2009
Pastry House Hippo
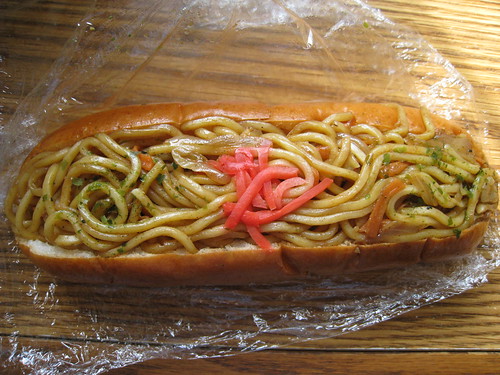
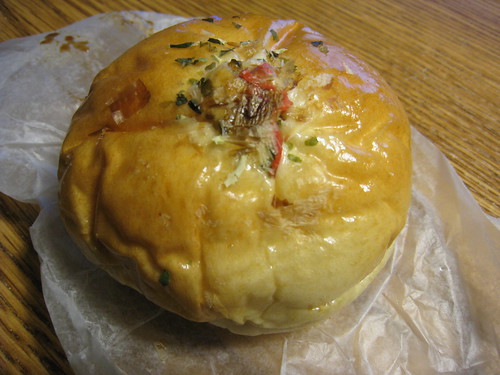
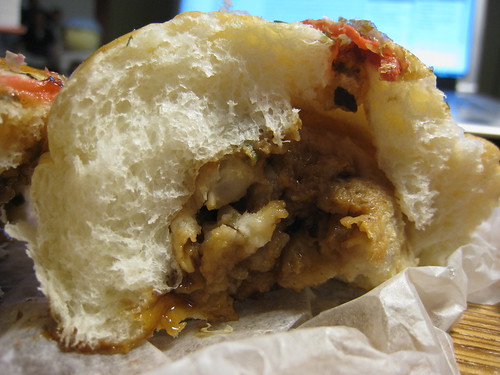
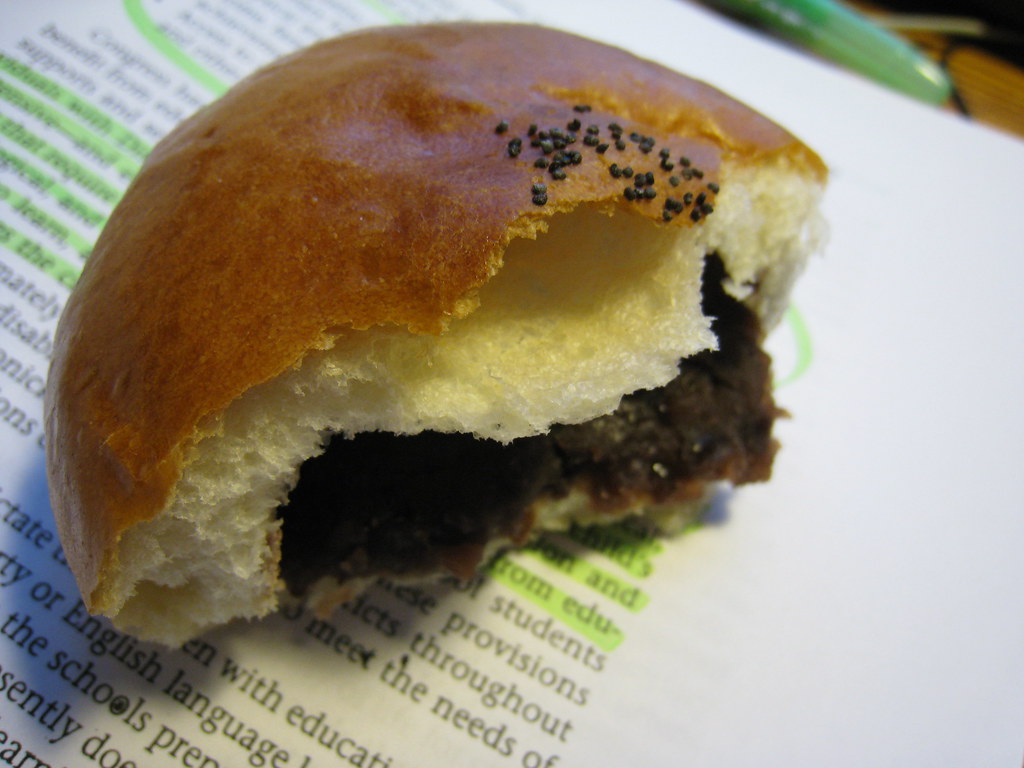
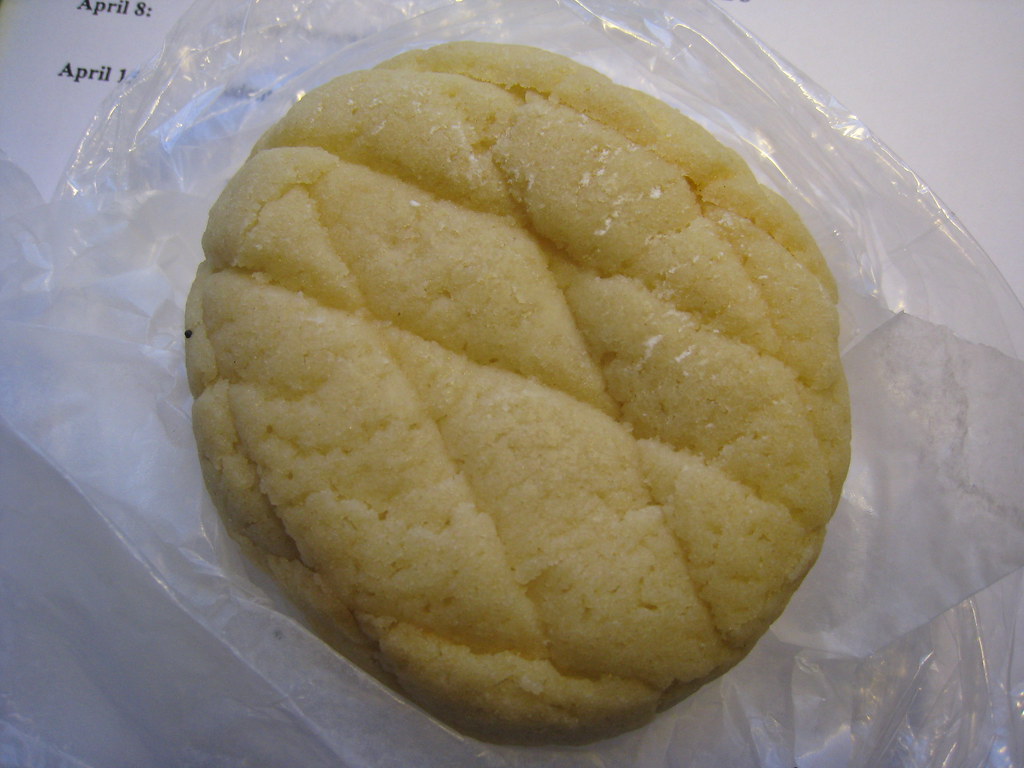
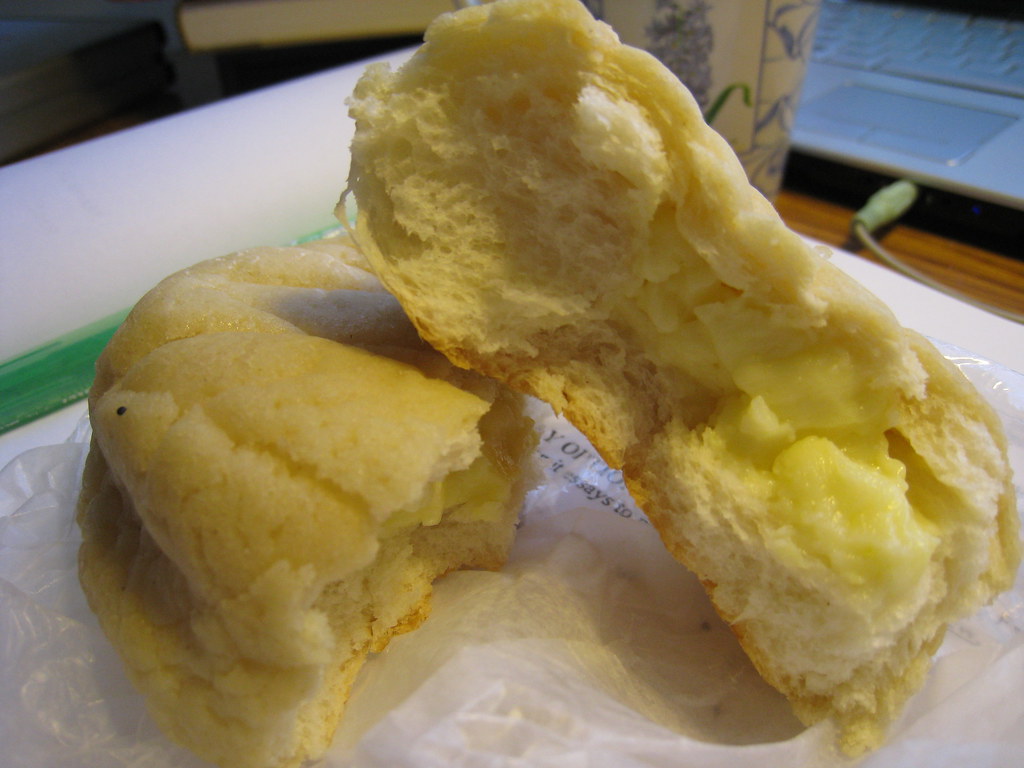
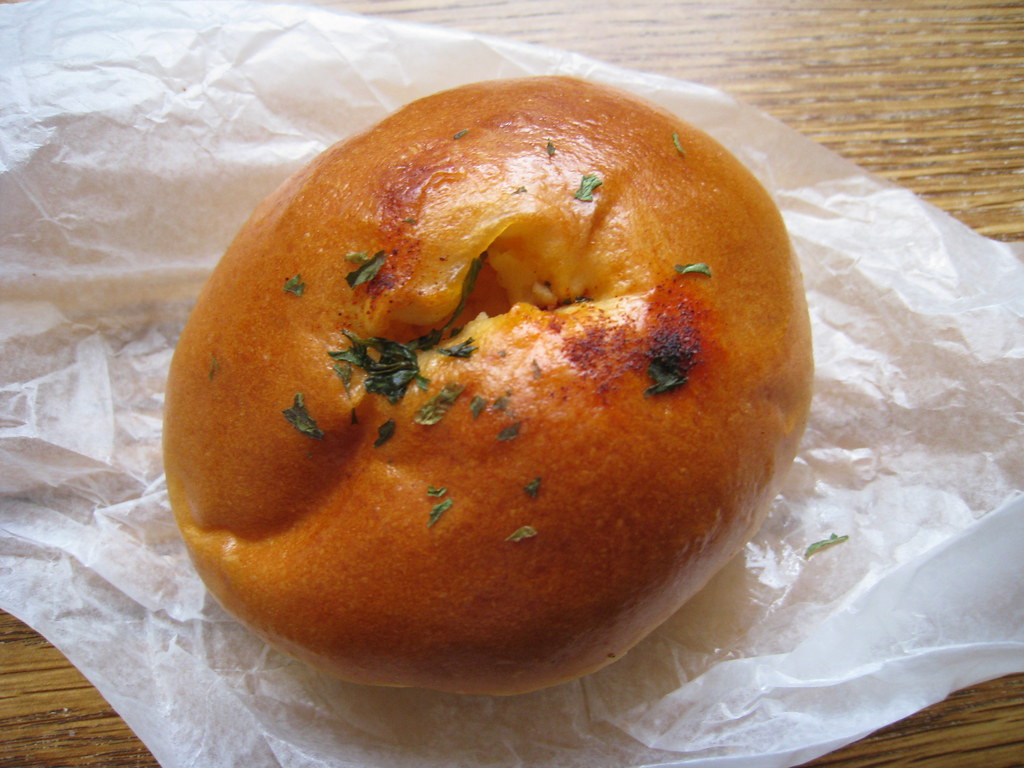
Last weekend I went here with a couple of friends to get our Japanese bakery fix :D
I bought a bunch and they were all quite good. But sadly, it just made me more nostalgic for the bakeries I frequented back in Japan..;_;
Yakisoba pan
Takoyaki pan
Takoyaki pan - inside
/>
Tsubuan pan
Melon Cream pan
Melon Cream pan - inside
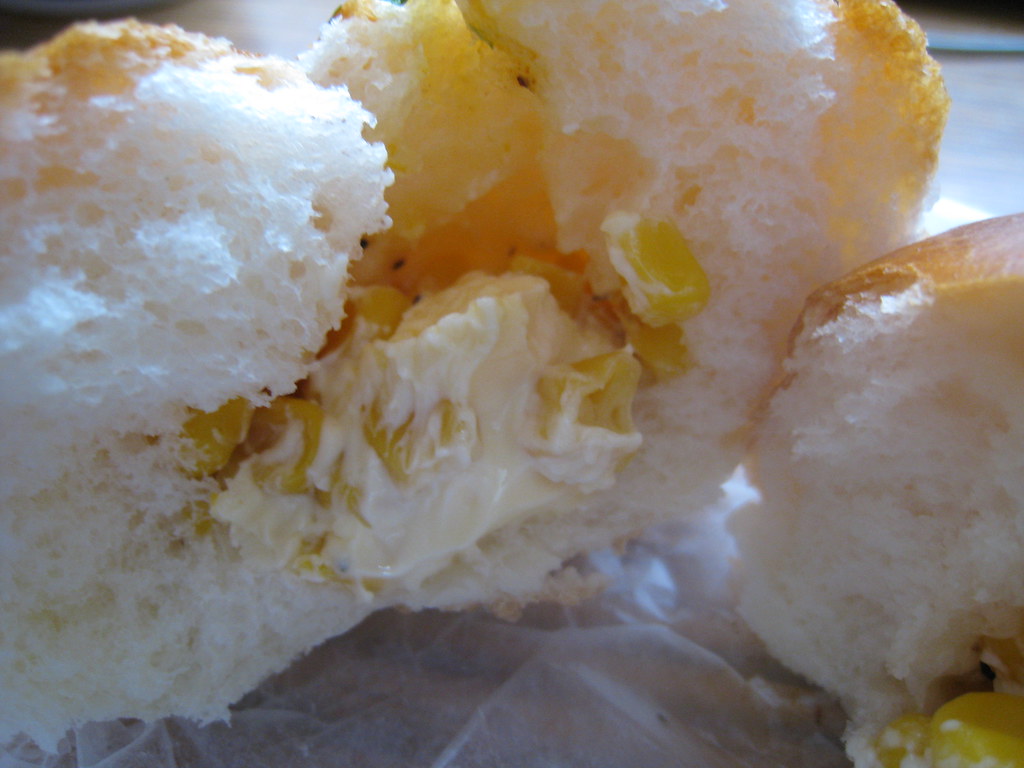
Corn Mayo pan
Corn Mayo pan - inside
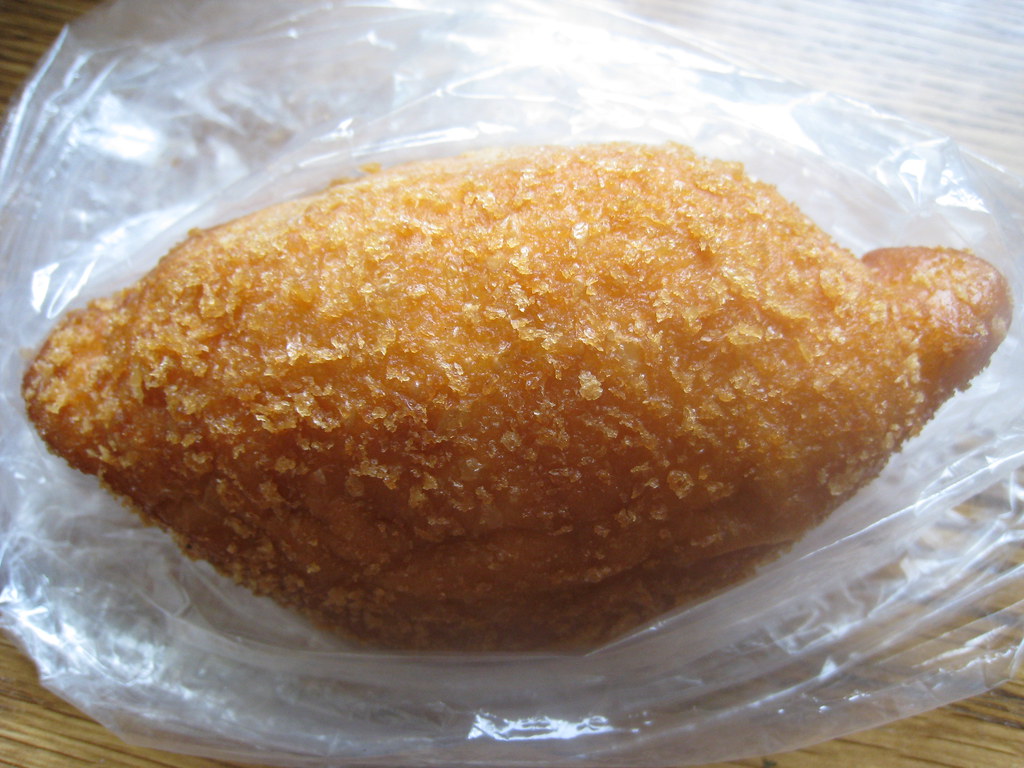
Curry pan
I bought a bunch and they were all quite good. But sadly, it just made me more nostalgic for the bakeries I frequented back in Japan..;_;
Yakisoba pan
Takoyaki pan
Takoyaki pan - inside
/>
Tsubuan pan
Melon Cream pan
Melon Cream pan - inside
Corn Mayo pan
Corn Mayo pan - inside
Curry pan
Sunday, April 5, 2009
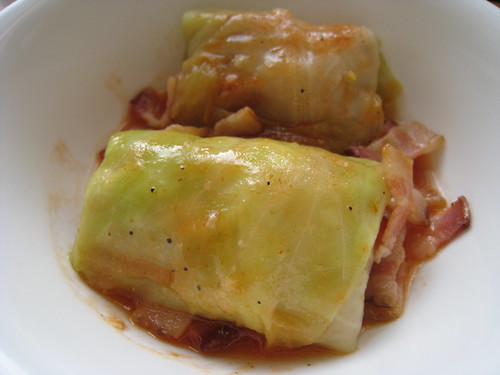
Rolled Cabbage
I made this a couple of weeks back and never got around to posting it :X Anyway, I was feeling a little nostalgic for Japan (again) and busted out my DS Oryouri Navi and looked for something to make. Since I had both cabbage and ground pork in the fridge, I settled on rolled cabbage! I didn't have this too often in Japan, but it seemed popular and I'd had seen it on tv as well so I thought I'd give it a shot.
I rather enjoyed my rolls lol. I ended up freezing the extra ones and then cooked them without the addition of ketchup the second time and I think I prefer that version, but I'll have to give them both a second try.
Rolled Cabbage, Japanese style
Ingredients
For the filling:
120g ground beef and pork mix
1/4 onion
4g butter
1/2 egg
1/4c panko
1/4c milk
pinch nutmeg
pinch salt
pinch pepper
4 Cabbage leaves, boiled
1 strip bacon, sliced
2g bouillon
2c water
1/2tbsp flour
1tbsp oil
3tbsp ketchup
pinch salt
pinch pepper
1. Mix the panko and the milk together and let the panko soak up the liquid.
2. Dice the onion.
3. Fry the onion in the butter until lightly browned.
4. Beat the egg in a medium bowl and then add the panko and milk mixture as well as the rest of the filling ingredients. Mix well and then divide into 4 portions.
5. Sprinkle a little salt on the cabbage leaves and then wrap the filling in each leaf. Use a toothpick to keep the rolls closed.
6. Heat a frying pan on medium heat and add the oil. Fry the bacon until cooked.
7. Dissolve the bouillon in the 2 cups of water. Add the cabbage rolls into the pan and then the water and bouillon mix. Simmer the rolls on low for about 30 minutes, while removing any scum that forms.
8. Add a little salt, pepper, and the ketchup to the pan and mix well.
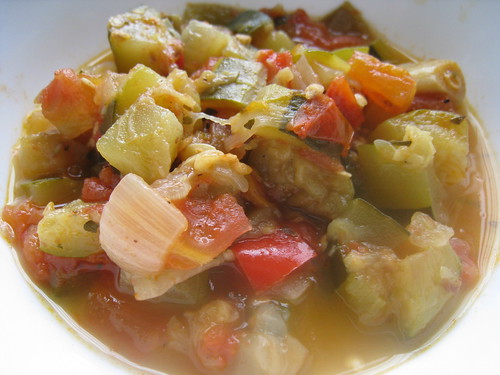
Ratatouille!
My sociology class had a potluck at our professor's house to make up one of the missed classes we had this semester and I was assigned a vegetable dish to bring. I really couldn't think of what to bring and then I remembered this ratatouille recipe from Tartlette :D
I basically used what I had in my kitchen so I ended up not using a green bell pepper, using regular olive oil not extra virgin, and not having thyme or lavender but I think it still turned out passable ^_^;; Of course I haven't really had ratatouille before, so I don't really know how it's supposed to taste anyway lol. But my classmates and my professor gave me their thumbs up, so it's all good :D
Subscribe to:
Posts (Atom)