E and I have been meeting up for dinner and a walk a couple times a week lately, so for last night, we decided to make dumplings and green onion pancakes :) It was a first for her and definitely good and nostalgic for me! Homemade dumplings was one of the meals I looked forward to most (and still do!) when I lived at home with my parents. This is also something we make together with family friends on weekends. Wrapping dumplings is something everyone can do and it's a nice way to bring everyone together for good conversation. These also freeze well so everyone can take some home afterward as well!
My mom was never a spectacular cook, but she really knows how to make dumplings :) It must be the years of experience and advice from everyone else that helped lol. For me it's the combination of the chewy skin and the combined flavor of Chinese leek (aka Chinese chive), garlic, and ginger in the filling that makes it probably my number one comfort food, well at least one of my number ones! Of course you can vary the filling to whatever you'd like as well. I know some people like adding shrimp (my grandmother on my mom's side did this all the time) and you can also dice up dried shrimp (post soaking) and add it to the filling as well. Pork is also not the only option for meat..but I think you get the point lol. I give you my preferred filling in this post, but don't feel limited to only this :) Sadly, again I have no accurate measurements for this. I think when it comes down to cooking, especially cooking that I learned from my parents, I do it all by eye. The good news is it usually turns out well for me ^_^ In any case, for the dumplings, I present to you all my dad's directions (typo's unfixed! lol) that he emailed me years ago (my dad is awesome btw), with some comments and adaptations of my own :)
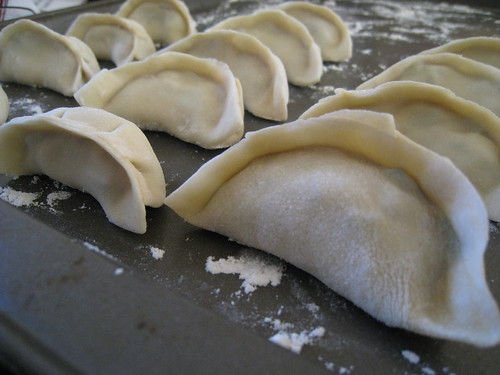
wrapped and ready to go :)
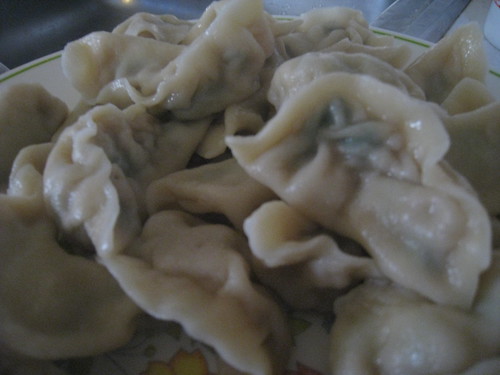
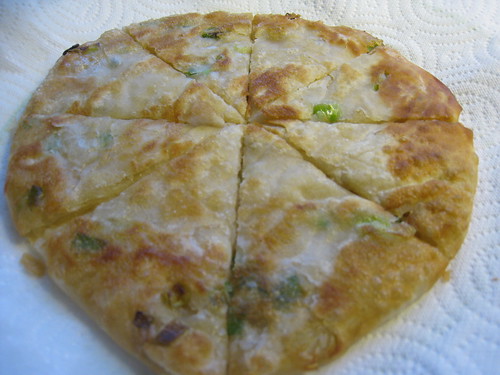
all done!
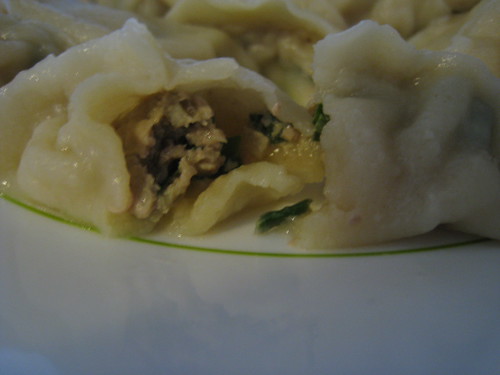
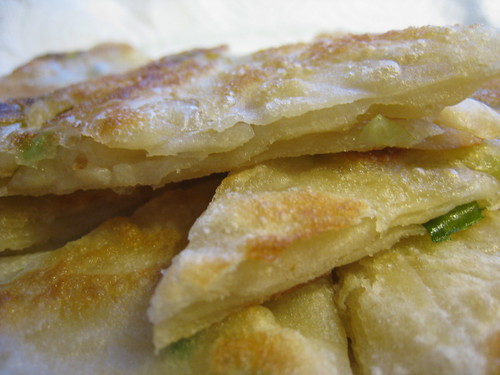
the insides
Dumplings (Jiao Zhi)
courtesy of Becca's Daddy
Ingredients
Flour
Cold Water
Ground Pork
Chinese leek (jiou cai)
Salt (I opt out of using salt since soy sauce is pretty salty..)
Soy Sauce
Pepper
Minced Garlic
Minced Ginger
Sesame Oil
1 egg
How to make jiao zi:
A. Dough
1. Mix 3 parts of flour with one part of cold water. (Put flour in a
bowl then pour water into the bowl slowly. Stir the flour at same time as water is added.).
Becca's Note: I always need slightly more than the one part of cold water to make it a nice and smooth dough so when I do add water I simply wet one hand and continue kneading until I get my desired consistency. Alternatively, you can use a stand mixer or a food processor (my mother's weapon of choice) to make the dough.
B. Filling
1. Wash and clean jiou cai (i.e. remove unwanted leave and root).
2. Dice jiou cai into small pieces about 1/4 inch long.
3. Put ground pork and diced jiou cai into a bowl. (ratio 1:1 by volume)
4. Add salt, soy sauce, pepper, minced ginger/garlic, sesame oil and one egg (if preferred).
5. Stir the ingredients to mix them well. Add water as required to make a smooth mix.
Becca's Note: Again, I don't have exact measurements for the seasonings, and I tend to just use soy, ginger/garlic, an egg, and sesame oil for mine. I usually use my nose to tell me when I think the filling is good :X
C. Making
1. Roll and push the dough like you make dough for bread until no isolated big chunk in it.
2. Cover the dough with a moist towel or napkin for a while, say 30 minutes, until the outside surface of dough is smooth.
3. Cut a chunk of dough and make a donut.
4. Spinning the donut until it become a ring.
5. Cut the ring and lay it like a straight snake.
6. Roll the snake to stretch it longer until its diameter becomes about 3/4 inch.
7. Cut the snake into one inch long pieces.
8. Press each piece into a little pancake with your palm.
9. Use a round wood stick to spread the little pancake into a large one, about 3 inches diameter (note: center is thicker than edge).
10. Put filling on top of large pancake and fold pancake into jiao zi.
11. Dash flour on top of a tray to store finished jiao zi so it will not stick to the tray.
Becca's Note: I fold dumplings by first folding the dough in half and pinching shut the center, then folding one side at a time by pinching the corner shut and then up the sides. You can probably find a video on youtube or google it for better directions..
D. Cooking Fresh Made Jiao Zi
1. Fill the cooking pot with water to half full.
2. Heat the pot until water boils.
3. Put in jiao zi one by one into the boiling water. Stir the water frequently sot that no jiao is stick to the bottom of the pot (note: stir in one direction only). Do not put too much jiao zi in the pot. Make sure all jiao zi in the pot can float.
4. Let the water boil again then add one to two cup of cold water in the top.
5. Repeat step 4 until water boiled three time.
6. Turn down the heat and taste one jiao to check is filling well cooked or not.
7. If it is not cooked, repeat steps 4 & 6 one more time.
8. If it is cooked, remove all jiao zi into a serving dish.
E. Serving
1. Pour soy sauce, vinegar, sesame oil and chilly sauce (if preferred) into small bowls for dipping purpose.
2. Enjoy your meal.
3. Drink jiao zi soup to help digest after meal.
F. Storage
1. Put finished jiao zi (uncooked) on top of saucers. (Make sure you sprinkler saucer with flour first.)
2. Put the saucers into freezer until jiao zi hardened like rock.
3. Put hardened jiao zi in the storage bags and keep bags in the freezer.